Recent Post

Turning a Bar Clamp into a Circle‑Drawing Compass

Boiled vs Raw Linseed Oil; Danish vs Tung vs Teak; Affordable Wood Finishes

Beginner Joinery Methods That Actually Hold

How to Cut Straight Without a Table Saw

Measuring & Marking Like a Pro: The Skills That Change Everything

Why Your Woodworking Projects Fail (And How to Fix Them)

Reclaimed Wood: Where to Find It and How to Use It Safely

The Trim Router: The Most Underrated Tool in DIY Woodworking
Leave a comment

Six Common Spraying Mistakes Every Woodworker Should Avoid
Spraying finishes can be an excellent way to achieve a smooth, even coat of varnish, lacquer, or paint on your woodworking projects. Whether you’re using a spray gun, an HVLP (High Volume Low Pressure) system, or even an aerosol can, the key to a flawless finish lies in technique and preparation.
However, even experienced woodworkers can run into issues when spraying, and mistakes made during the spraying process can lead to uneven coats, drips, or poor adhesion. Avoiding these common slip-ups will save you time and frustration while ensuring that your projects look professional.
Let’s break down the six most common spraying mistakes and how you can avoid them in your next project.
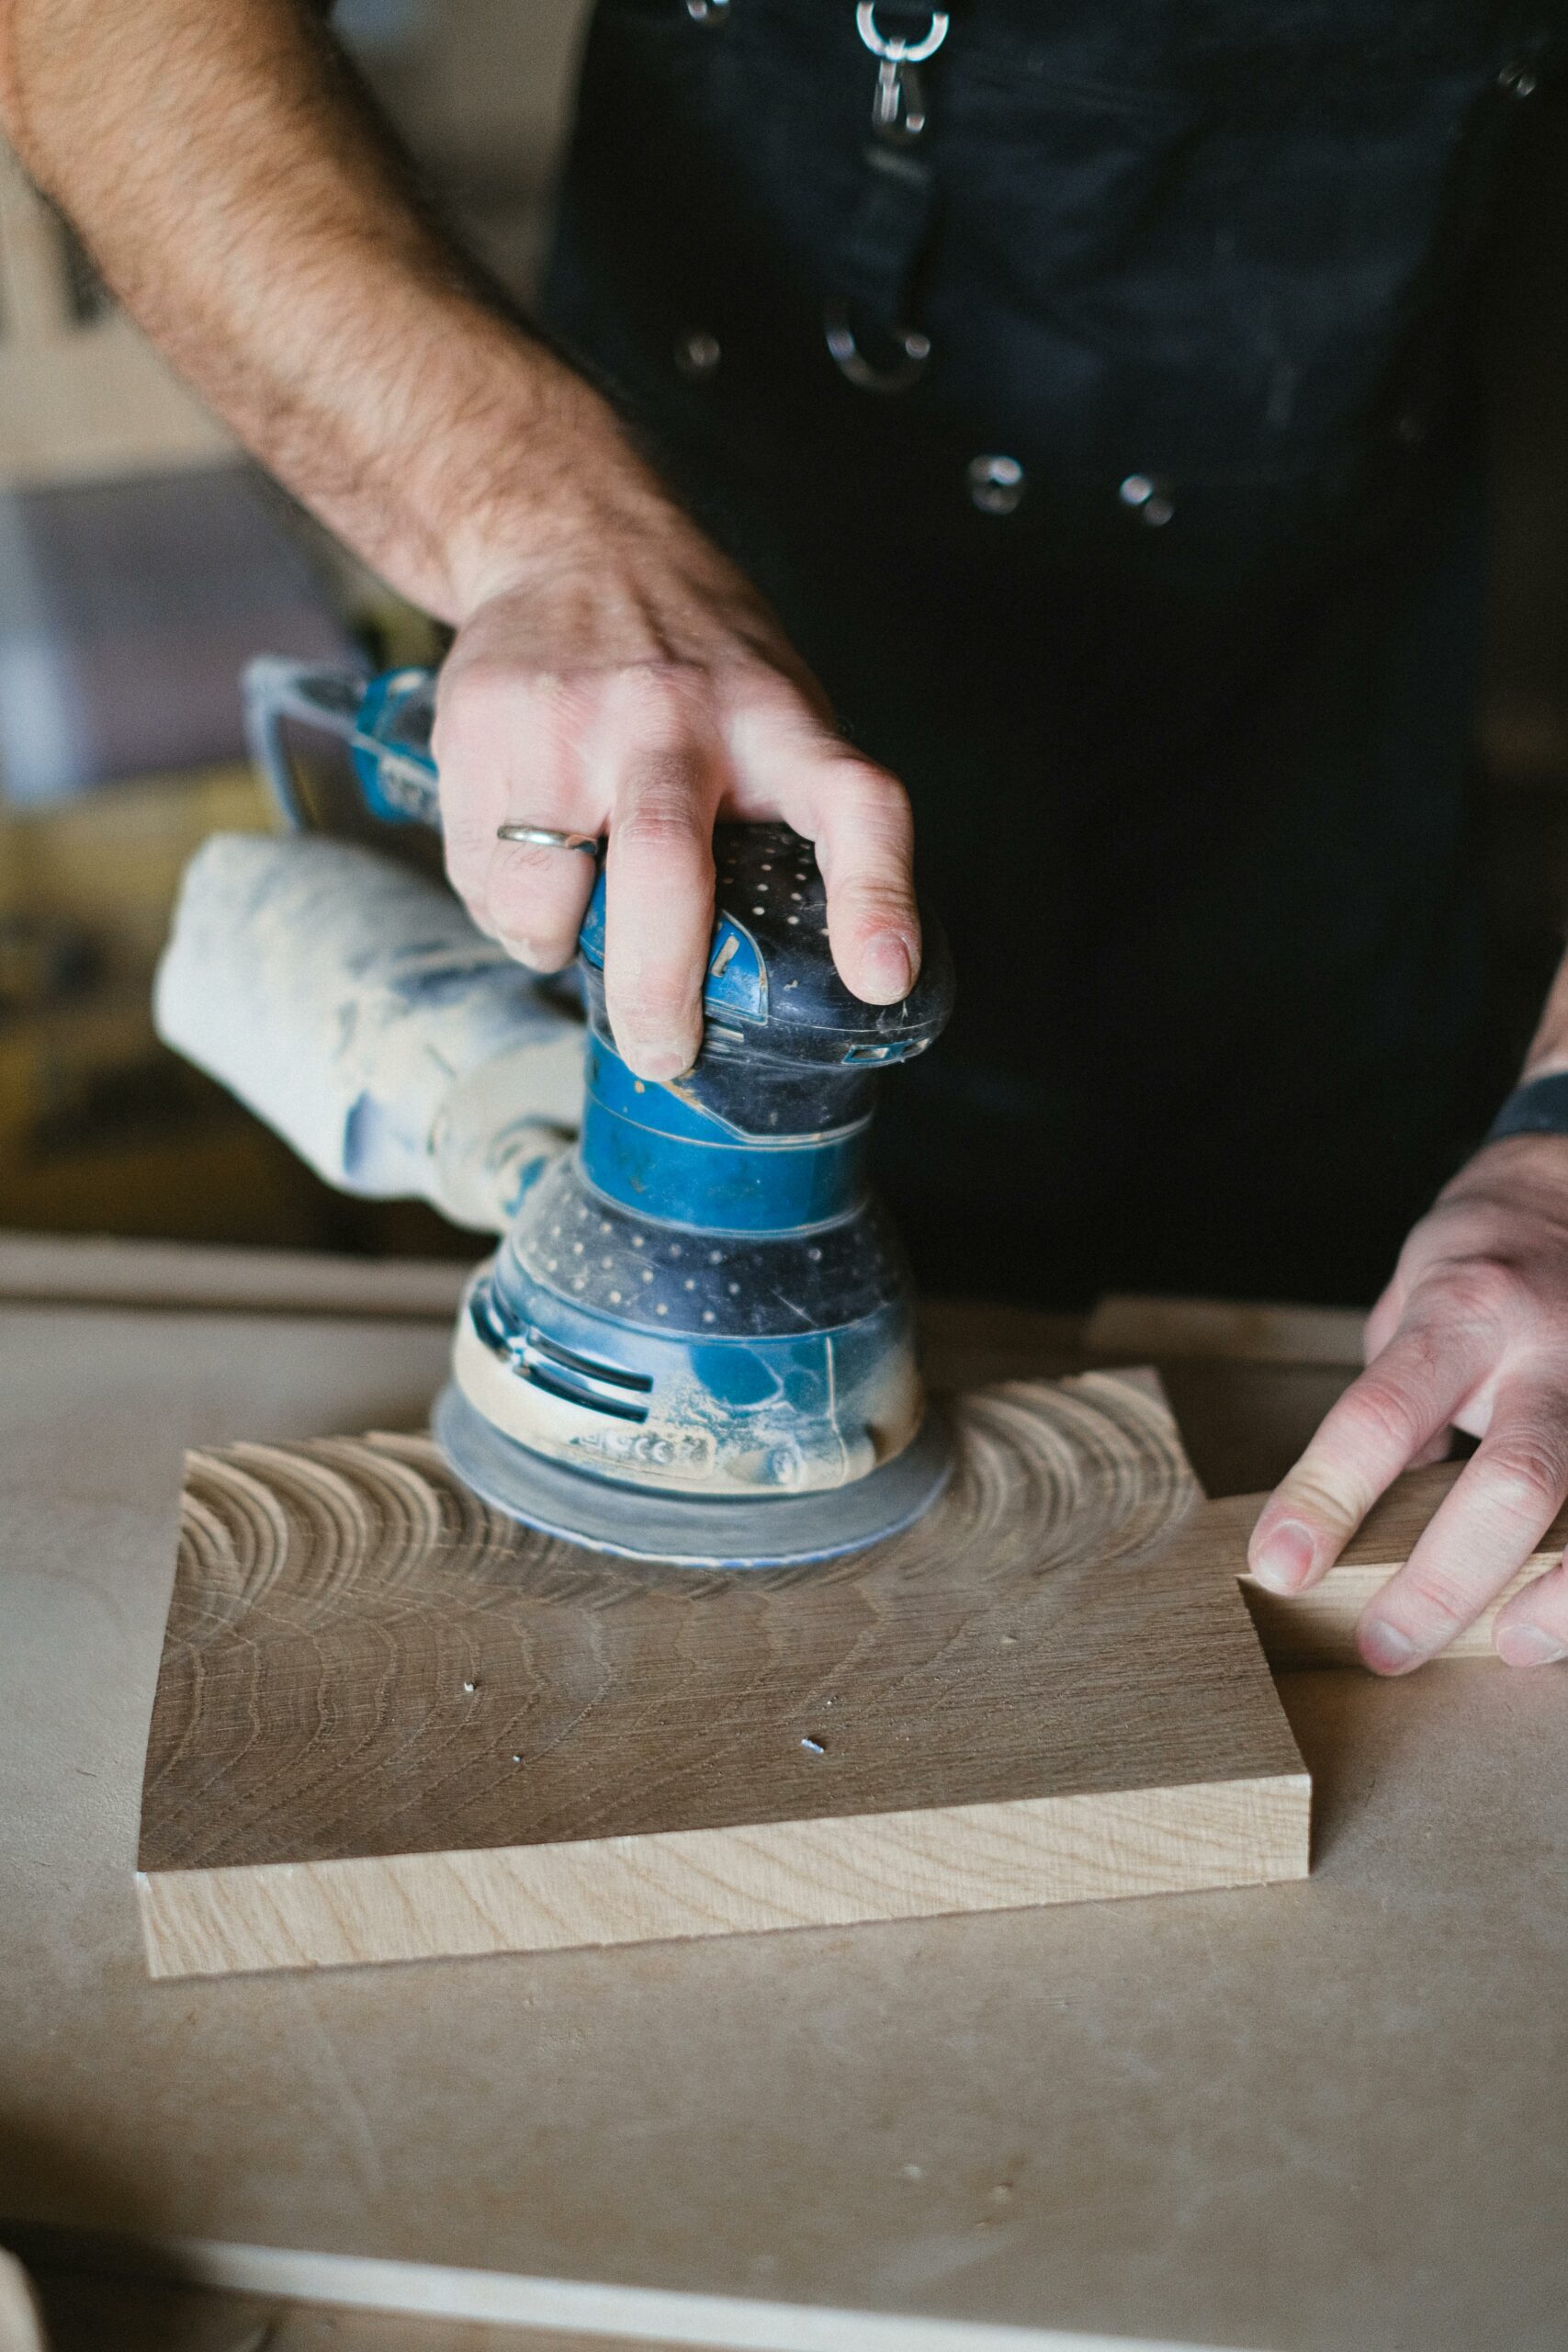
1. Failing to Properly Prepare the Surface
One of the biggest mistakes woodworkers make when spraying finishes is skipping or skimping on surface preparation. You can have the best spray equipment and finish on the market, but if the surface isn’t properly prepped, the result will be far from ideal.
Why it’s a problem:
If the wood surface isn’t properly sanded and cleaned, the finish won’t adhere properly. Dust, oils, or contaminants can cause adhesion problems, resulting in streaks, bubbles, or uneven gloss.
How to avoid it:
Before spraying, thoroughly sand the wood to the desired smoothness. Start with a coarser grit and work your way to finer grits. After sanding, make sure to clean the surface with a tack cloth or a lint-free rag to remove any dust or debris. If you’re working with a previously finished surface, ensure that the old finish is properly sanded down or removed. The cleaner and smoother the surface, the better the finish will adhere and look.
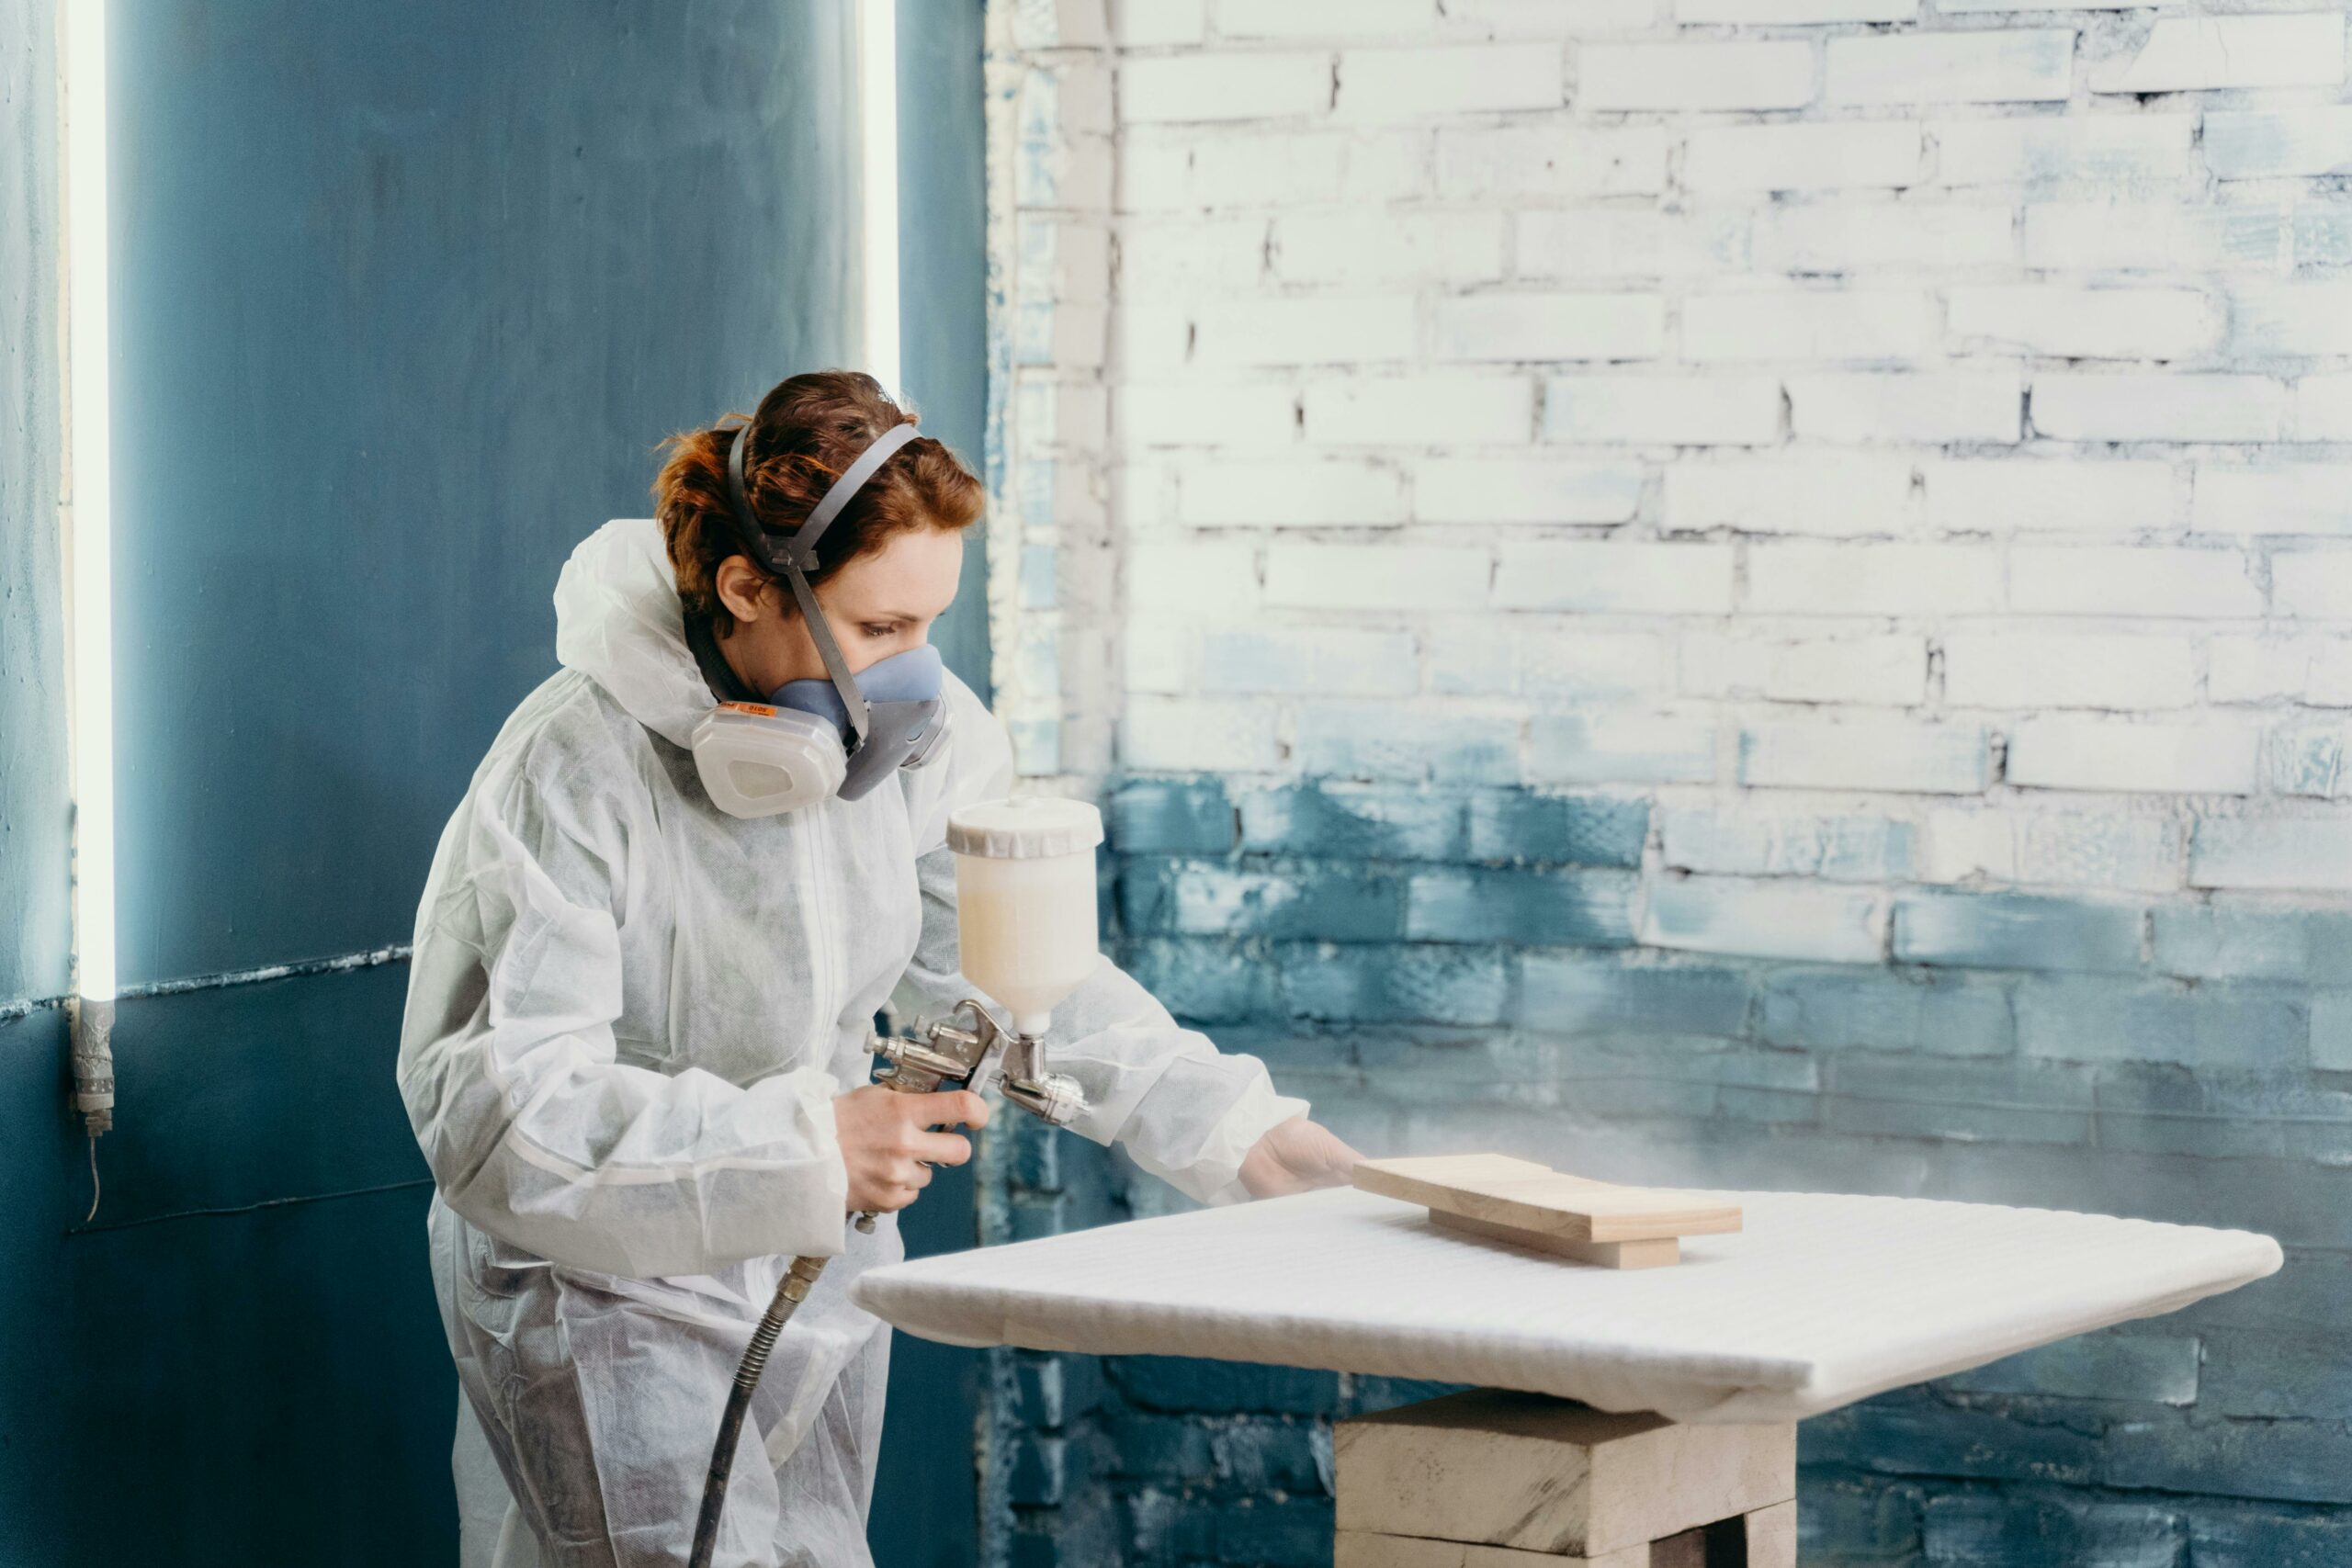
2. Using the Wrong Spray Technique
Even with the right finish, improper spraying technique can ruin your work. Spraying too close to the surface or applying too many coats too quickly can lead to drips, runs, or a cloudy appearance.
Why it’s a problem:
When you spray too closely or apply too much finish at once, the spray can collect in one area and start to run or drip. Similarly, uneven passes can result in a streaky finish.
How to avoid it:
Hold the spray nozzle at least 150-200mm away from the surface and spray in smooth, overlapping passes. Keep the gun moving at a consistent speed to ensure an even coat. It’s better to apply multiple light coats than to try and do it all in one heavy layer. Allow each coat to dry fully before adding another to prevent the buildup of too much finish.
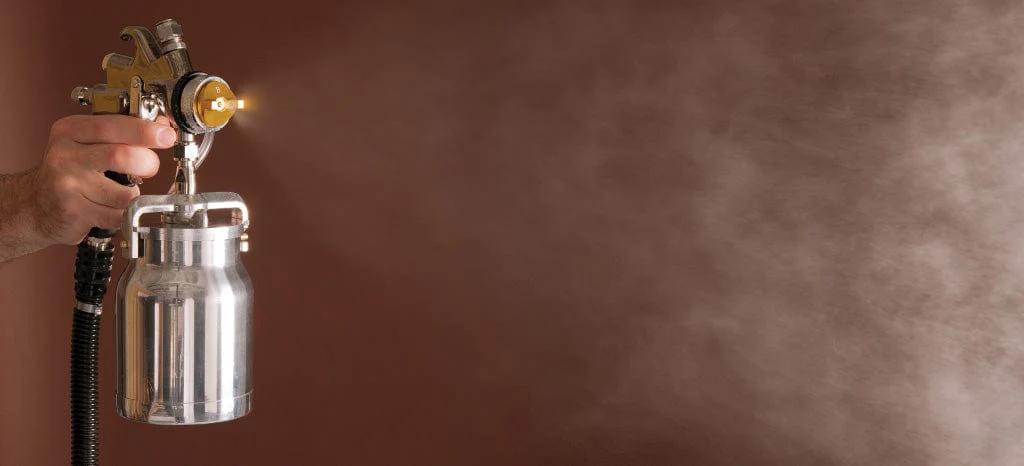
3. Not Adjusting the Spray Gun Settings
Spray guns, particularly HVLP systems, offer several adjustments that allow you to control the volume and pattern of the spray. If you don’t adjust the settings correctly, you can end up with a finish that’s too heavy or too light.
Why it’s a problem:
If the air pressure, fluid control, or fan pattern is off, you might get a finish that’s either too thin (leading to uneven coverage) or too thick (leading to drips or runs).
How to avoid it:
Before starting on your project, take time to adjust your spray gun settings for optimal results. Start by adjusting the fluid control to regulate how much finish is being sprayed. Next, adjust the air pressure (typically between 20-30 psi for HVLP) to ensure the finish is atomized properly. The spray pattern should be wide enough to cover the surface in smooth, even passes—usually about 150-200mm wide. Test on a piece of scrap wood first to dial in your settings.
4. Spraying in the Wrong Environmental Conditions
Humidity and temperature can have a huge impact on how a finish behaves. High humidity, extreme temperatures, or poor ventilation can cause finishes to dry too slowly, too quickly, or unevenly.
Why it’s a problem:
In high humidity, finishes like lacquer and varnish can dry too slowly, causing runs and dust particles to get trapped in the wet finish. On the other hand, spraying in extreme heat can cause finishes to dry too quickly, leading to an uneven, patchy appearance.
How to avoid it:
Try to spray in a controlled environment where temperature and humidity are within the recommended range for your finish (generally between 18.3°C–23.9°C with moderate humidity). If you’re working outdoors or in a less-than-ideal environment, consider using a dehumidifier or a portable fan to help control airflow. Always check the manufacturer’s recommendations for the ideal spraying conditions for your finish.
5. Neglecting Proper Masking and Protection
Even if you’re a seasoned sprayer, it’s easy to get careless about protecting surrounding areas from overspray, especially on large projects. Overspray can settle on other parts of the project, on the floor, or even on nearby tools, making cleanup difficult and creating an uneven finish.
Why it’s a problem:
Without proper masking, you risk contaminating areas that shouldn’t be finished, or worse, causing overspray to collect on unwanted surfaces, leaving unwanted spots or streaks.
How to avoid it:
Be sure to mask off any areas that you don’t want to spray, such as hardware, edges, or intricate details that might get covered with paint or stain. Use painter’s tape and drop cloths to protect your workspace. If you’re spraying a piece like a cabinet or door, remove any hardware or glass, and cover any areas that shouldn’t be finished. This step will make for a much cleaner, more professional result.
6. Skipping the Final Touch: Proper Curing and Cleaning
Once you’ve applied your finish, it can be tempting to rush the process and move on to the next step in your project. However, failing to allow the finish to fully cure or neglecting to clean your equipment properly can lead to issues down the line.
Why it’s a problem:
If the finish isn’t fully cured before handling or moving the piece, you risk smudging or damaging the finish. Additionally, improper cleaning of your spray equipment can cause clogging, inconsistent spraying, and even ruin your next project.
How to avoid it:
Allow the finish to cure for the time recommended by the manufacturer. Don’t rush this process; even if the surface feels dry to the touch, it may still need time to harden fully. Make sure you clean your spray gun thoroughly after each use to prevent old finish from clogging the nozzle or affecting future applications. If you’re using an HVLP system, use the manufacturer-recommended cleaning solution to remove any residue from the lines and nozzle.
Spraying finishes can seem intimidating at first, but with the right preparation, tools, and techniques, you can achieve flawless results every time. Avoiding these six common mistakes will help you work more efficiently, save materials, and ensure a smooth, professional-looking finish on your woodworking projects.
By paying attention to surface preparation, spray technique, environmental conditions, and equipment maintenance, you’ll be able to handle any spraying project with confidence and ease.
Happy spraying, and may your projects always shine!