Recent Post
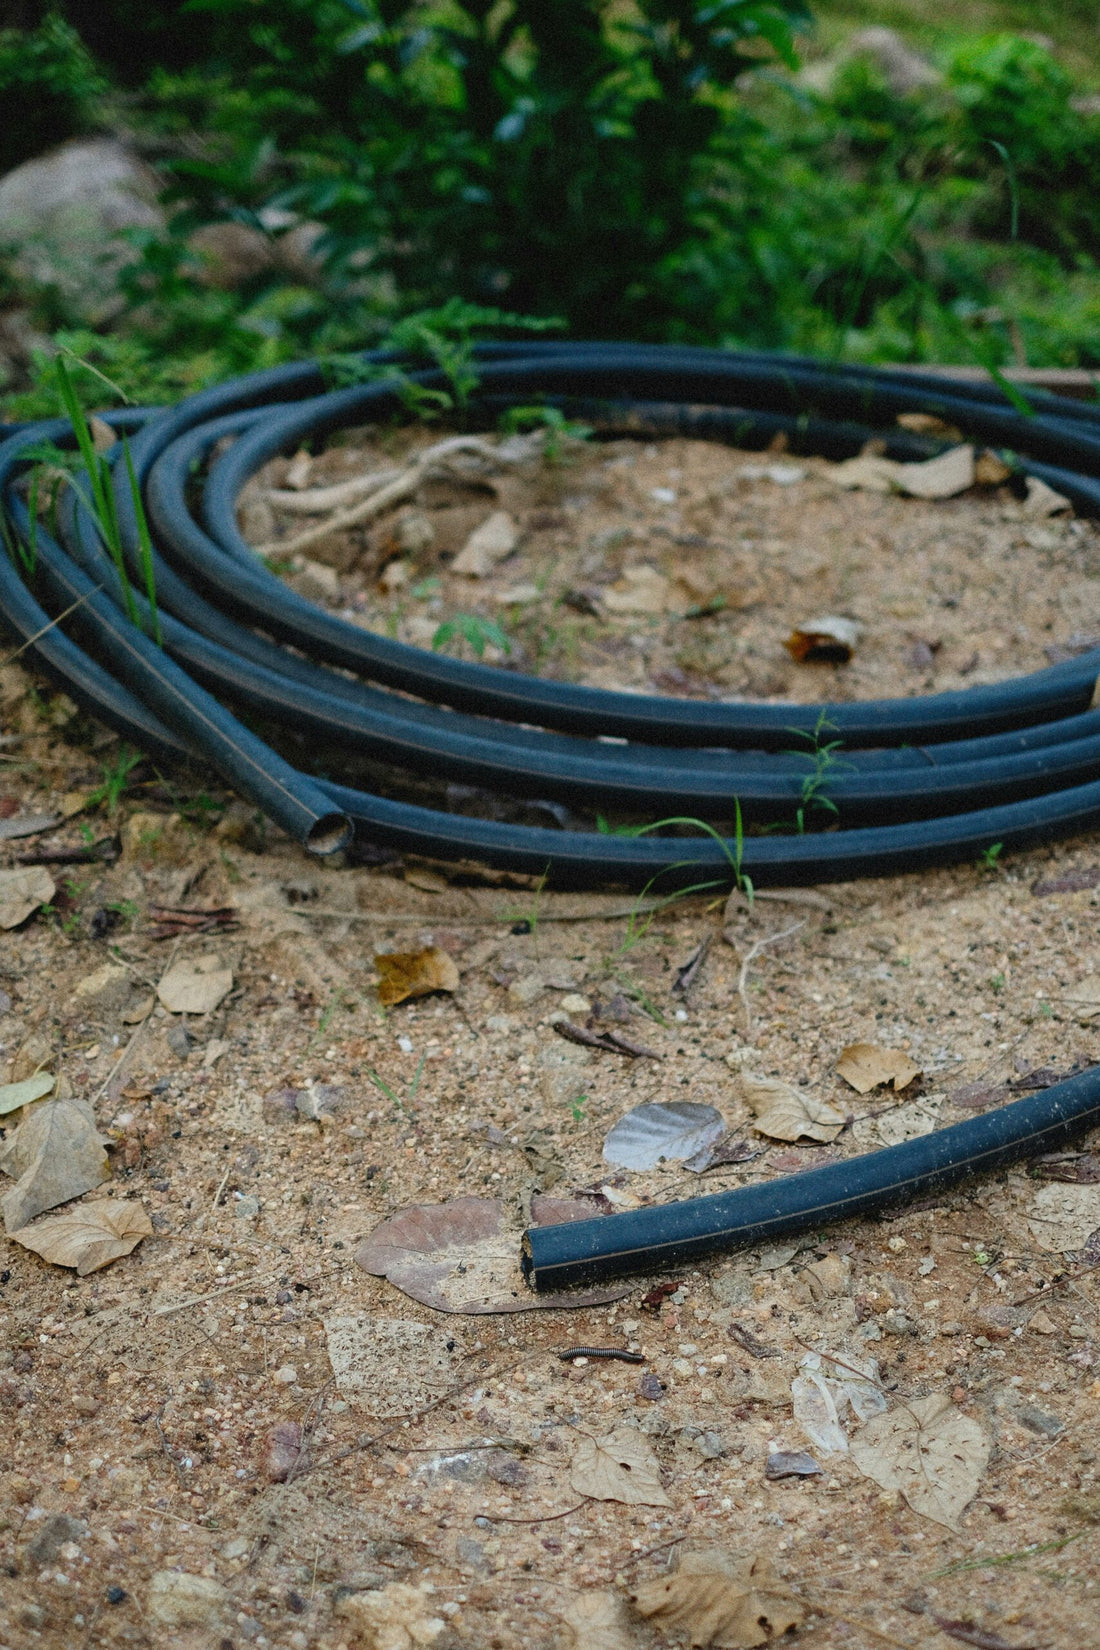
Finding New Uses For Your Old Garden Hoses

Removing Silicone Caulk – A Short Guide
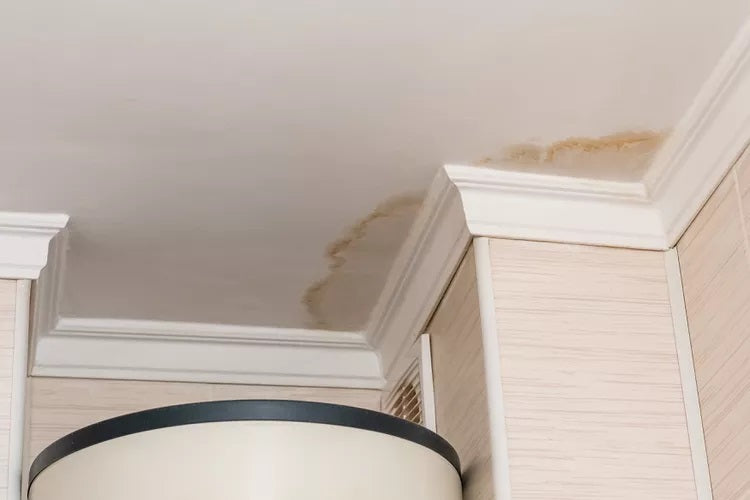
Ceiling Water Stains For Noobs
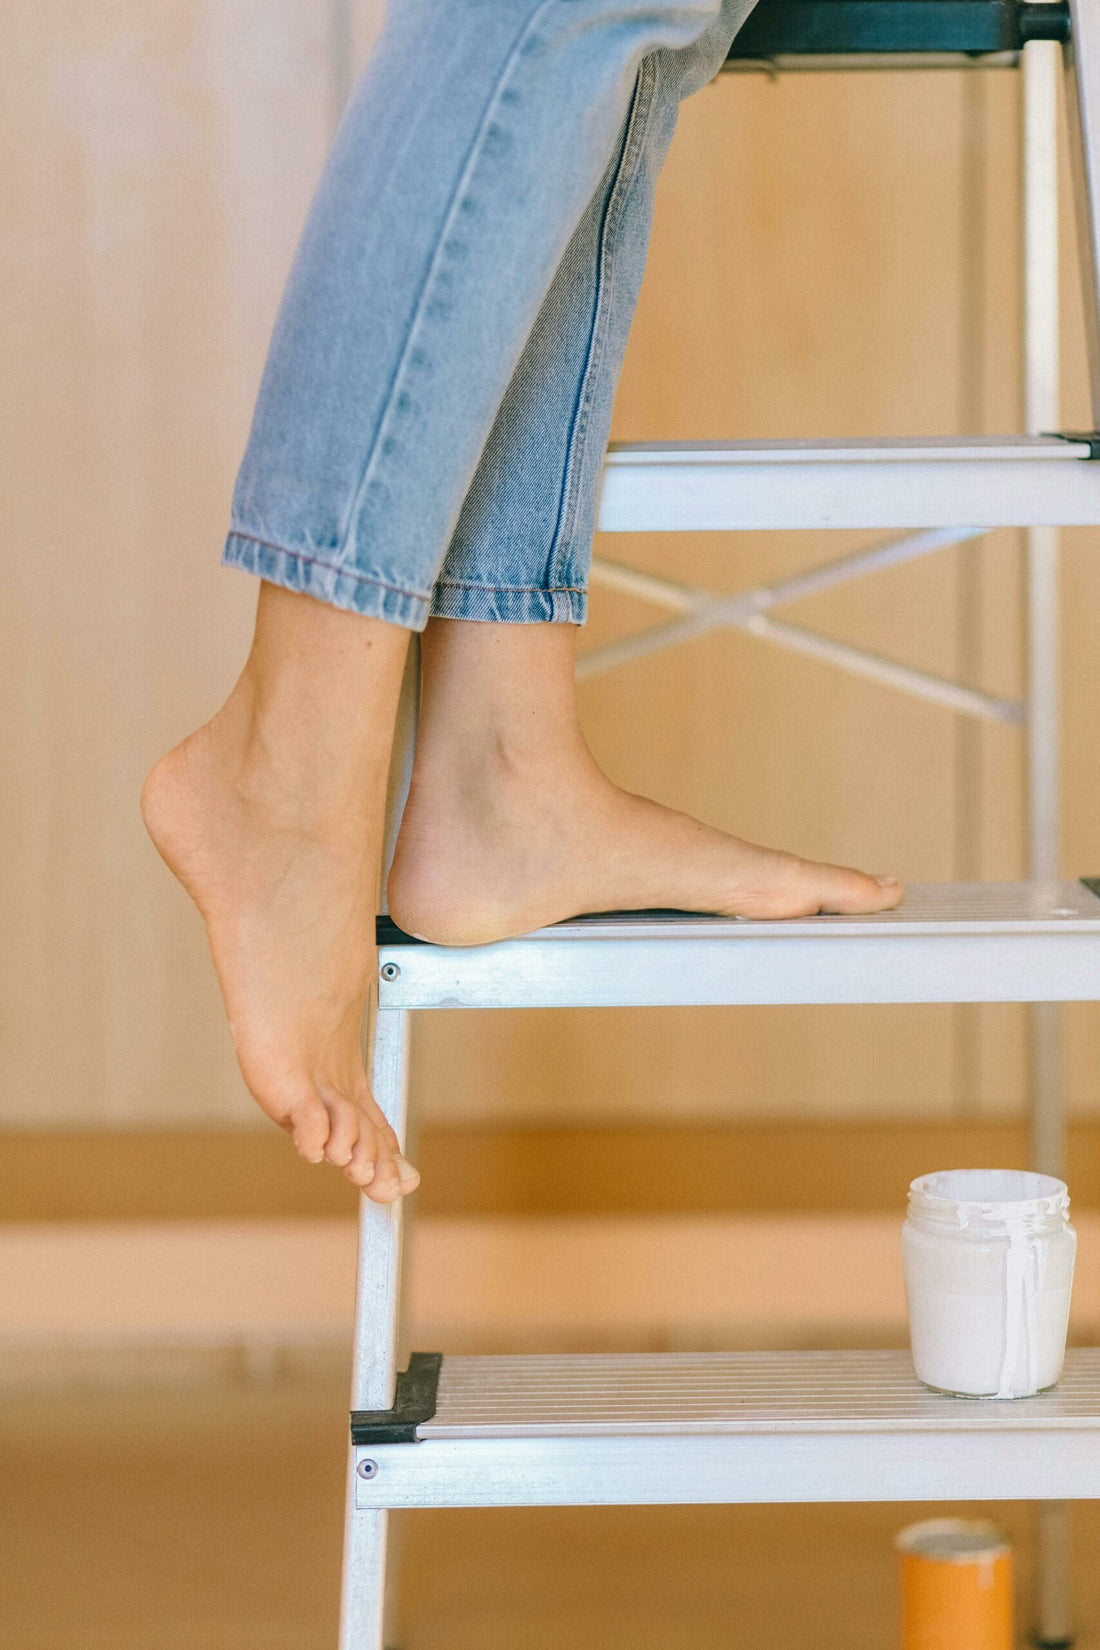
A Step-by-Step Guide to Choosing and Using Ladders Safely

Mastering the Art of Picture Hanging: Top Tips for Small Spaces and Apartments

Why Aren’t Your Solar Panels Saving You Money?

Understanding Pollination for a Bountiful Harvest
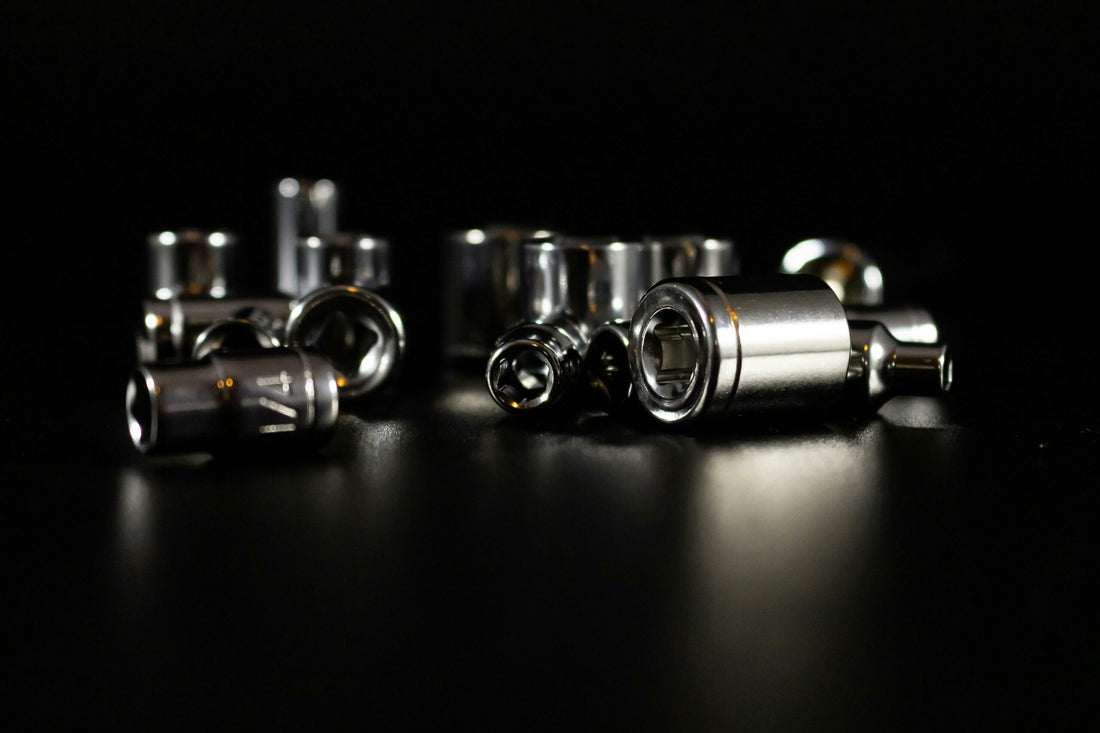
Essential Guide to Cleaning Your Tools for Longevity and Efficiency
Leave a comment
Removing Silicone Caulk – A Short Guide

Removing old or damaged silicone caulk is a necessary task to maintain the integrity and appearance of areas like bathrooms and kitchens. Over time, caulk can deteriorate, leading to potential water damage and mold growth. Here’s a step-by-step guide to effectively remove silicone caulk:
- Gather Necessary Tools and Materials
- Utility knife or razor blade
- Caulk removal tool or putty knife
- Heat gun or hair dryer
- Needle-nose pliers
- Caulk remover solution or mineral spirits
- Cleaning supplies (mild detergent, water, sponge)
- Prepare the Area
Clean the surface around the caulk with a mild detergent to remove dirt, debris, and mildew. This ensures a clear view of the caulk lines and prevents contaminants from interfering with the removal process.
- Soften the Caulk
Use a heat gun or hair dryer to gently warm the caulk. This softens it, making removal easier. Be cautious not to overheat, as excessive heat can damage surrounding materials.
- Cut and Loosen the Caulk
Carefully score along the edges of the caulk with a utility knife or razor blade, both horizontally and vertically. This helps in breaking the seal between the caulk and the surface.
- Remove the Caulk
Utilize a caulk removal tool, putty knife, or needle-nose pliers to pry and pull away the loosened caulk. For stubborn sections, reapply heat or use a chemical caulk remover as per the manufacturer’s instructions.
- Clean Residual Caulk
After the bulk of the caulk is removed, there may be residual material left on the surface. Apply a caulk remover solution or mineral spirits to these areas, let it sit as directed, and then scrape off the softened residue.
- Final Surface Cleaning
Thoroughly clean the area with a sponge and mild detergent to eliminate any remaining caulk particles and cleaning agents. Ensure the surface is completely dry before applying new caulk.
Safety Tips
- Always wear appropriate personal protective equipment, such as gloves and safety glasses, to protect against sharp tools and chemical exposure.
- Ensure the area is well-ventilated, especially when using chemical removers, to avoid inhaling fumes.
By following these steps, you can effectively remove old silicone caulk, preparing the surface for a fresh application that ensures a clean and durable seal.