Recent Post
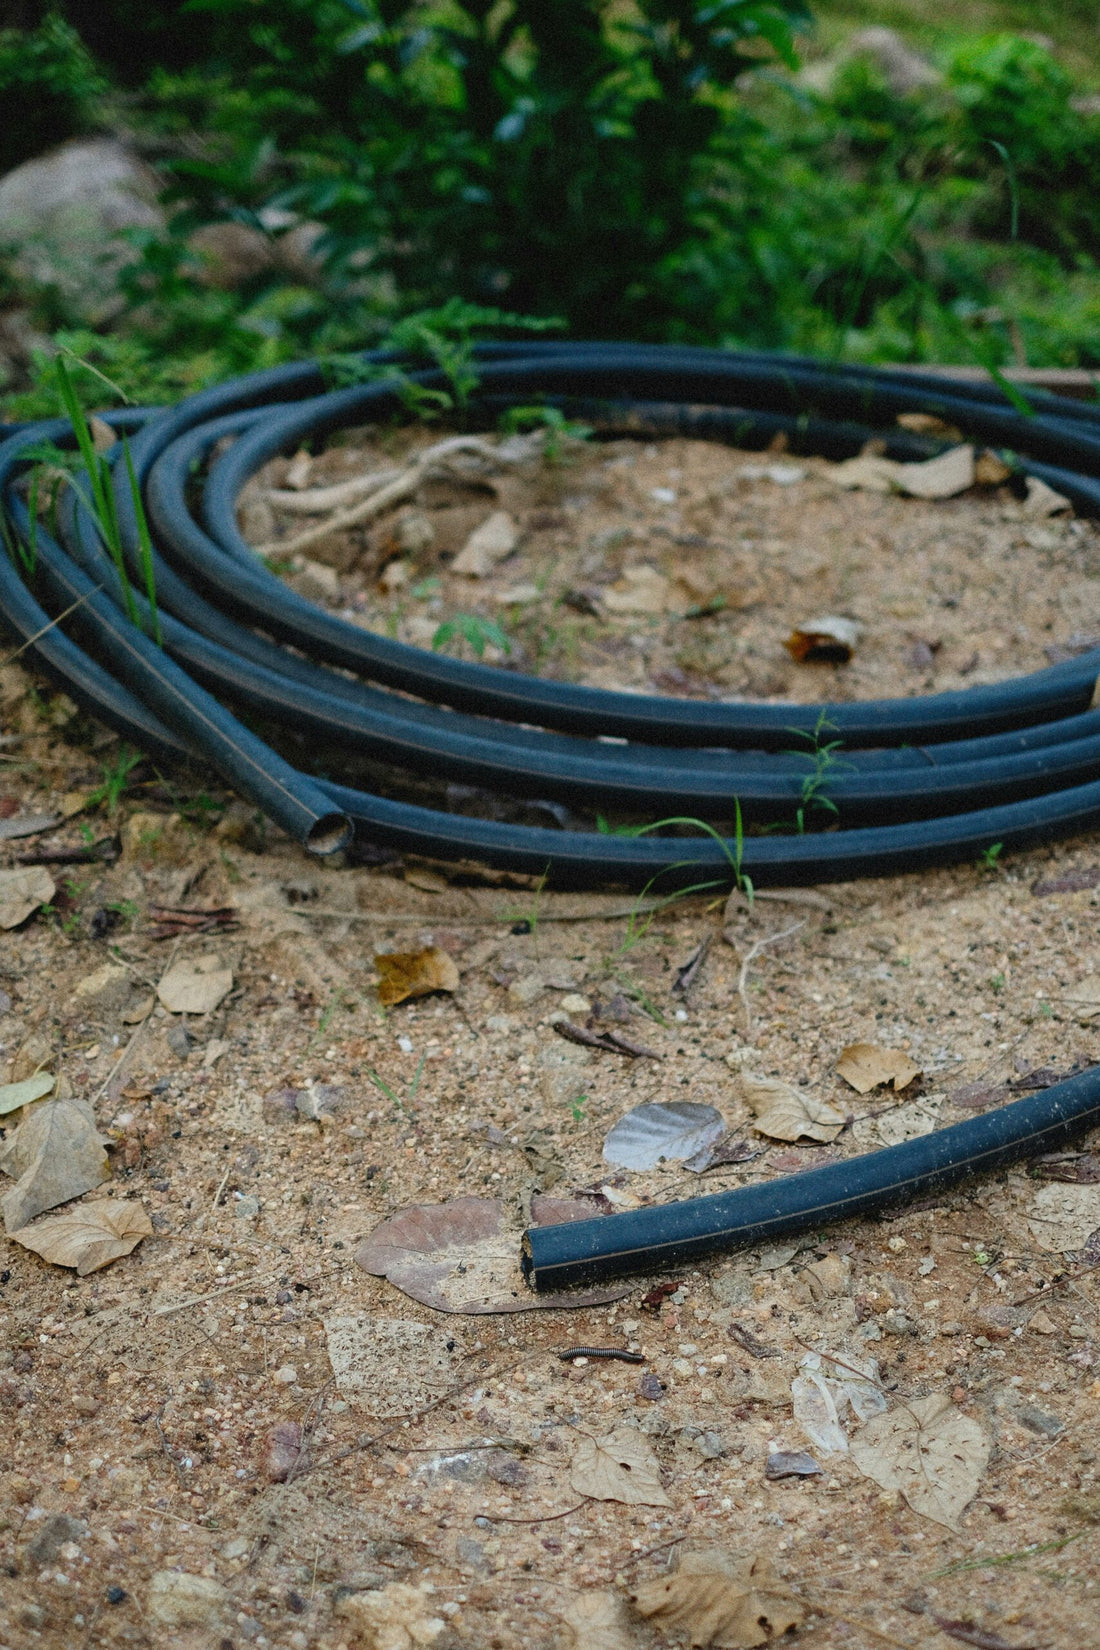
Finding New Uses For Your Old Garden Hoses

Removing Silicone Caulk – A Short Guide
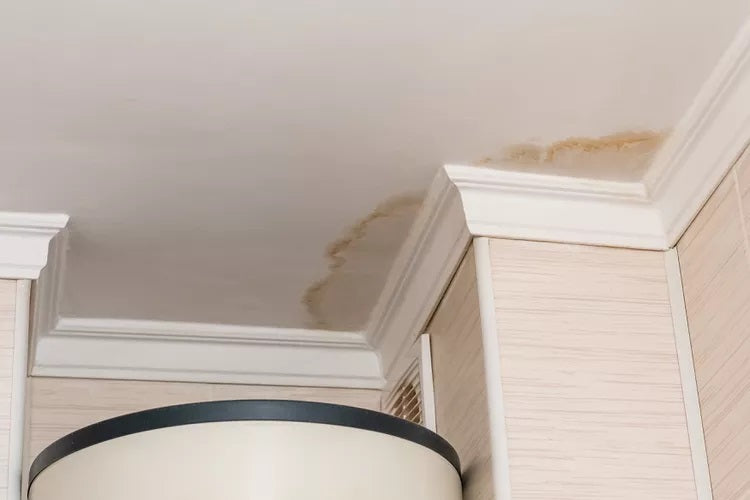
Ceiling Water Stains For Noobs
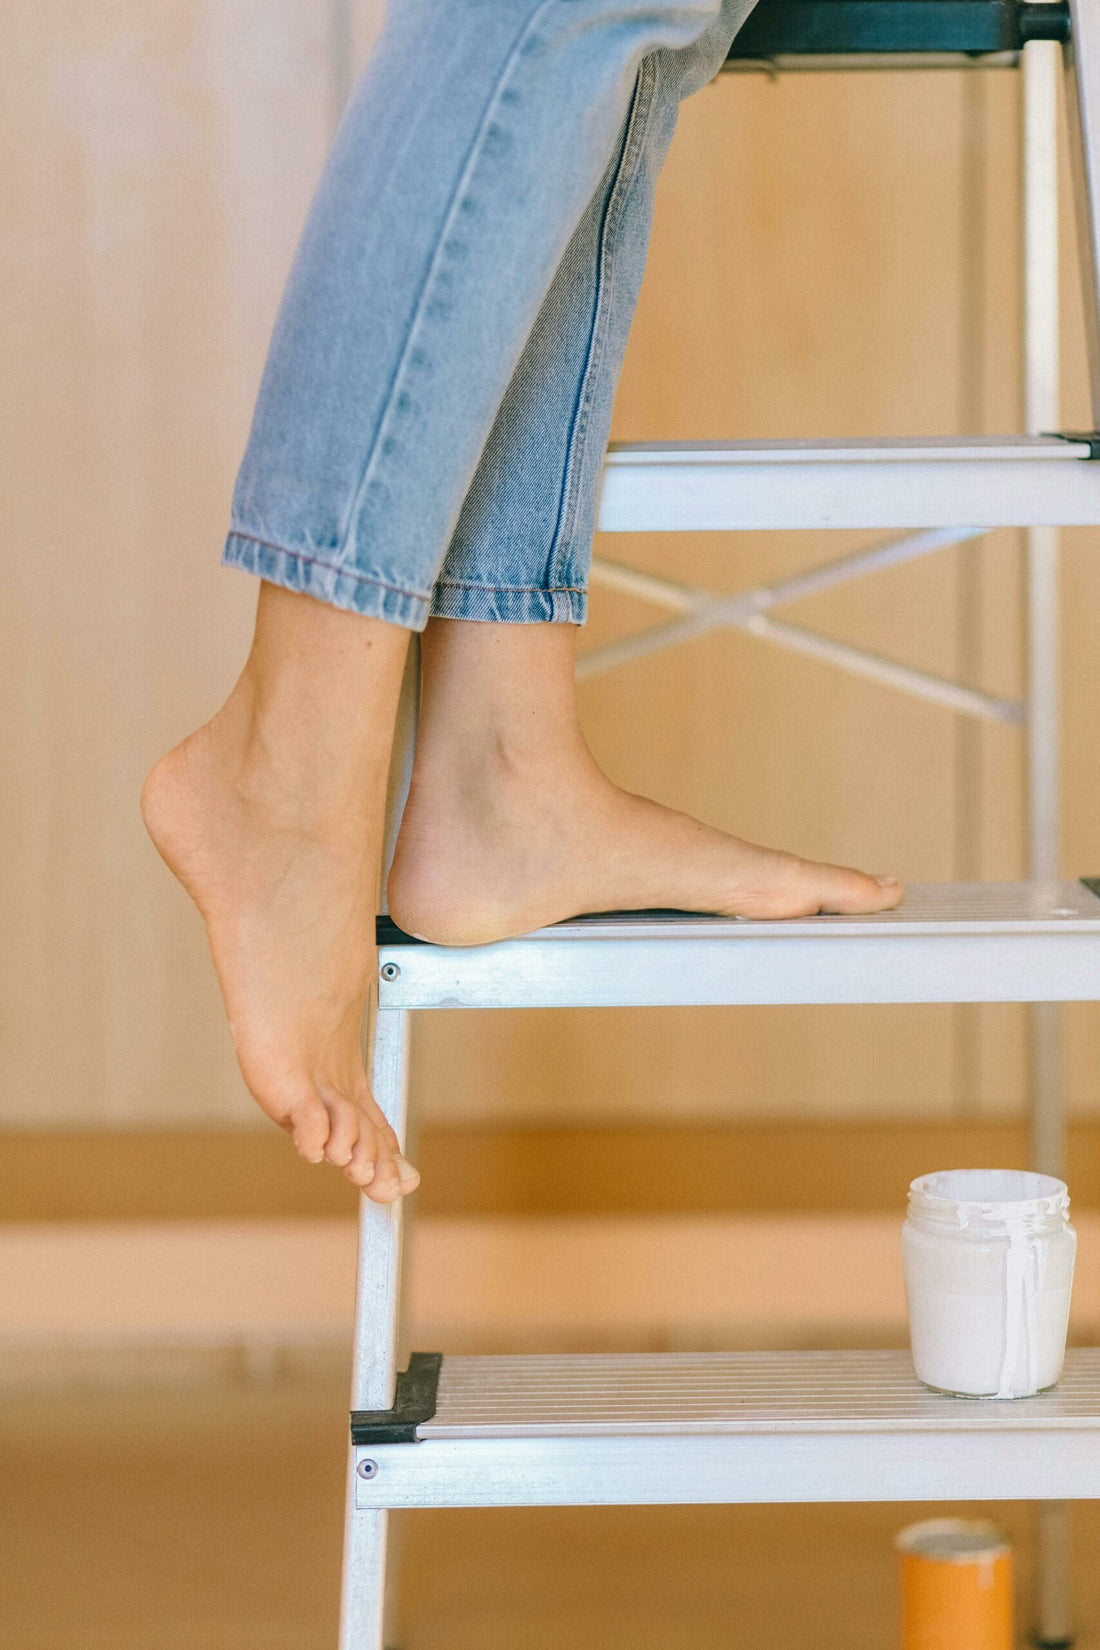
A Step-by-Step Guide to Choosing and Using Ladders Safely
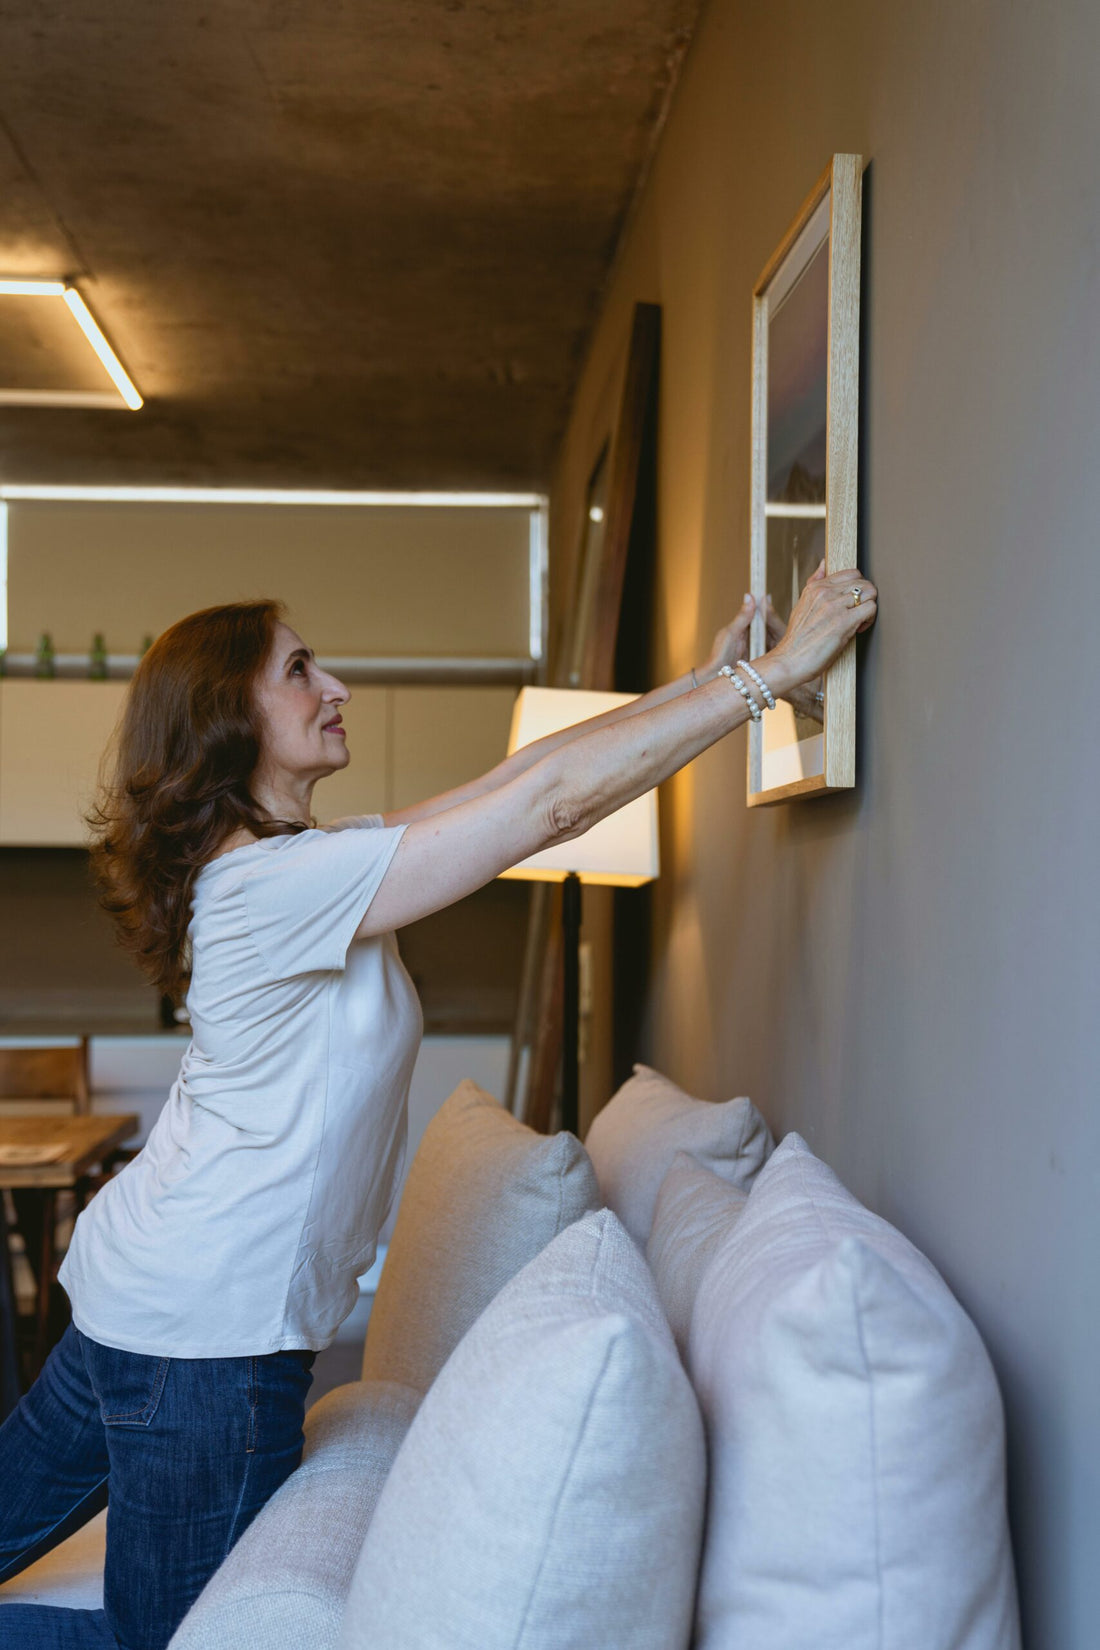
Mastering the Art of Picture Hanging: Top Tips for Small Spaces and Apartments

Why Aren’t Your Solar Panels Saving You Money?

Understanding Pollination for a Bountiful Harvest
Essential Guide to Cleaning Your Tools for Longevity and Efficiency
Leave a comment
Transform Your Bathroom: A Guide to Painting Bathroom Tiles

Are you tired of the dull, outdated look of your bathroom tiles? If so, painting your bathroom tiles can be a cost-effective and transformative solution to refresh your space without a full renovation. In this guide, we’ll explore the process of painting bathroom tiles, the benefits, and essential tips for a successful and long-lasting result.
Benefits of Painting Bathroom Tiles
Before diving into the process, let’s consider the benefits of painting bathroom tiles:
- Cost-Effective: Painting tiles is significantly more affordable than replacing them, making it an attractive option for budget-conscious homeowners.
- Versatility: You can choose from a wide range of colors and finishes to match your desired aesthetic, from classic white to bold colors or even faux finishes like marble or granite.
- Quick Transformation: Painting tiles can quickly transform the look of your bathroom, giving it a fresh and updated appearance in just a few days.

The Process of Painting Bathroom Tiles
- Preparation: Start by thoroughly cleaning the tiles with a mild detergent and water to remove any dirt, grime, or soap scum. Allow the tiles to dry completely before proceeding.
- Surface Preparation: Use a fine-grit sandpaper or a liquid deglosser to roughen the surface of the tiles slightly. This step helps the paint adhere better to the tiles and ensures a durable finish.
- Priming: Apply a high-quality primer specifically designed for use on tiles. The primer creates a strong bond between the tiles and the paint, improving adhesion and durability.
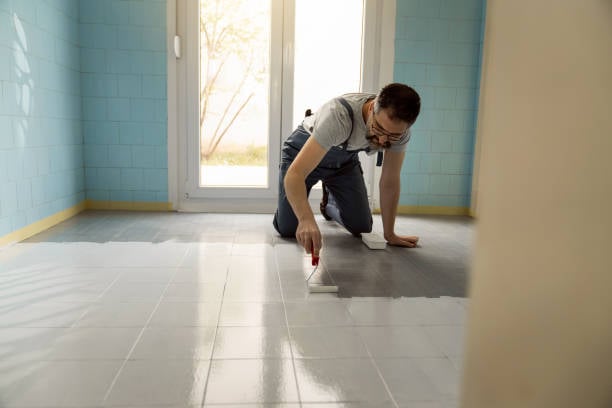
- Painting: Use a paintbrush or roller to apply a coat of acrylic latex paint designed for bathroom and kitchen use. Apply the paint evenly in smooth, overlapping strokes, ensuring full coverage.
- Drying and Curing: Allow the first coat of paint to dry completely according to the manufacturer’s instructions. Apply a second coat if necessary for better coverage and durability. Let the paint cure for at least 24-48 hours before exposing it to moisture.
- Sealing (Optional): For added protection, consider applying a clear polyurethane sealer designed for use on painted surfaces. This step helps prevent water damage and prolongs the life of the painted tiles.

Tips for a Successful Result
- Choose the Right Paint: Use a paint specifically formulated for bathroom and kitchen use, as these areas are prone to moisture and humidity.
- Proper Ventilation: Ensure adequate ventilation during the painting process and allow the paint to dry and cure in a well-ventilated space.
- Quality Tools: Use high-quality brushes, rollers, and primers for better coverage and a professional finish.
- Follow Instructions: Always follow the manufacturer’s instructions regarding application, drying times, and recommended tools.
- Maintenance: After painting, maintain the tiles by regularly cleaning them with mild cleaners and avoiding abrasive scrubbers.
Painting bathroom tiles is a cost-effective and transformative way to update your bathroom’s look and feel. With proper preparation, quality materials, and attention to detail, you can achieve a long-lasting and stylish result that revitalizes your space. Explore different colors and finishes to create a personalized and refreshed bathroom that suits your taste and enhances your daily routine.